
If you’re reading this, you’re probably feeling a mix of excitement and dread. Excited about visiting, working, or studying in the U.S.—and dreading the visa application process, you’ve heard horror stories about.
Let’s be real: applying for a U.S. visa can be stressful, confusing, and expensive. But it doesn’t have to be a complete mystery. Here’s what you actually need to know, not just the official procedure, but the stuff nobody tells you until you’re already halfway through and realizing you messed something up.
Read Also: How to Write a Job Application in the U.S. (That Actually Gets Read)
What Is a U.S. Visa, Really?
 A U.S. visa is basically permission to show up at an American airport or border and ask to come in. That’s it. It’s not a guarantee you’ll be admitted—that final decision happens when you meet a Customs and Border Protection officer at the port of entry. But without the visa, you don’t even get to have that conversation.
Visas come in two main flavors:
Non-immigrant visas are for temporary visits—tourism, business meetings, studying, temporary work, and cultural exchanges. You’re expected to leave when your authorized stay ends.
Immigrant visas are for people planning to move to the U.S. permanently. This usually means you have a family sponsoring you or an employer petitioning for you. The immigrant visa process is longer, more complex, and involves different forms and procedures than what we’re covering here.
Read Also: Medical Jobs in the USA- Everything You Need to Know
The Main Visa Types You’ll Encounter
B-1/B-2 Tourist and Business Visitor Visas
These are the most common. B-2 is for tourism, visiting family, and medical treatment. B-1 is for business activities like attending conferences, negotiating contracts, or consulting with business partners. You can’t work for a U.S. company or get paid by U.S. sources on these visas, but you can do business activities. The line between “business visitor” and “worker” confuses a lot of people, so if you’re not sure, research your specific situation carefully.
Work Visas (H-1B, L-1, O-1, and others)
These require your employer to petition for you first using Form I-129. You can’t just apply on your own. H-1B is for specialty occupations (think tech workers, engineers, professionals). L-1 is for intracompany transfers. O-1 is for people with extraordinary ability in their field. Each has different requirements, processing times, and annual caps.
Student Visas (F-1 and M-1)
F-1 is for academic study at a U.S. college or university. M-1 is for vocational or non-academic training. You’ll need an acceptance letter and Form I-20 from your school before you can even start the visa application.
Exchange Visitor Visas (J-1)
These are for cultural exchange programs, research scholars, au pairs, summer work travel, teaching positions, and similar programs. Your sponsoring organization handles a lot of the paperwork. J-1 visas come with specific rules, and some have a two-year home residency requirement after your program ends that can complicate future visa applications.
Read Also: Electronic Travel Authorization in the USA
The Actual Application Process (Non-Immigrant Visas)
 Here’s how this works in practice, step by step:
Step 1: Figure out which visa you actually need
This sounds obvious, but people mess it up constantly. If you’re coming to the U.S. for a conference, is that tourism (B-2) or business (B-1)? If you’re doing an unpaid internship, is that J-1 or something else? Getting the visa category wrong can lead to denial or problems at the border.
The U.S. Department of State website has a visa wizard tool that helps, but honestly, if your situation is even slightly complicated, consider talking to an immigration attorney. Spending $200 on a consultation can save you months of hassle and a wasted application fee.
Step 2: Complete Form DS-160
The DS-160 is the online application form for non-immigrant visas, and it’s tedious. Plan to spend 1-2 hours on it, maybe more if English isn’t your first language or if you have a complicated travel history.
Here’s what people don’t warn you about: the form times out after 20 minutes of inactivity. You can save your progress, but you need to write down your application ID number. I’ve heard from multiple people who lost hours of work because they didn’t save properly and the session expired.
Answer every question carefully. Inconsistencies between your DS-160, your interview answers, and your supporting documents can trigger red flags. If it asks about previous visa denials, social media accounts, or travel history, be thorough and honest. They can verify most of this information, and lying on a visa application is grounds for permanent inadmissibility.
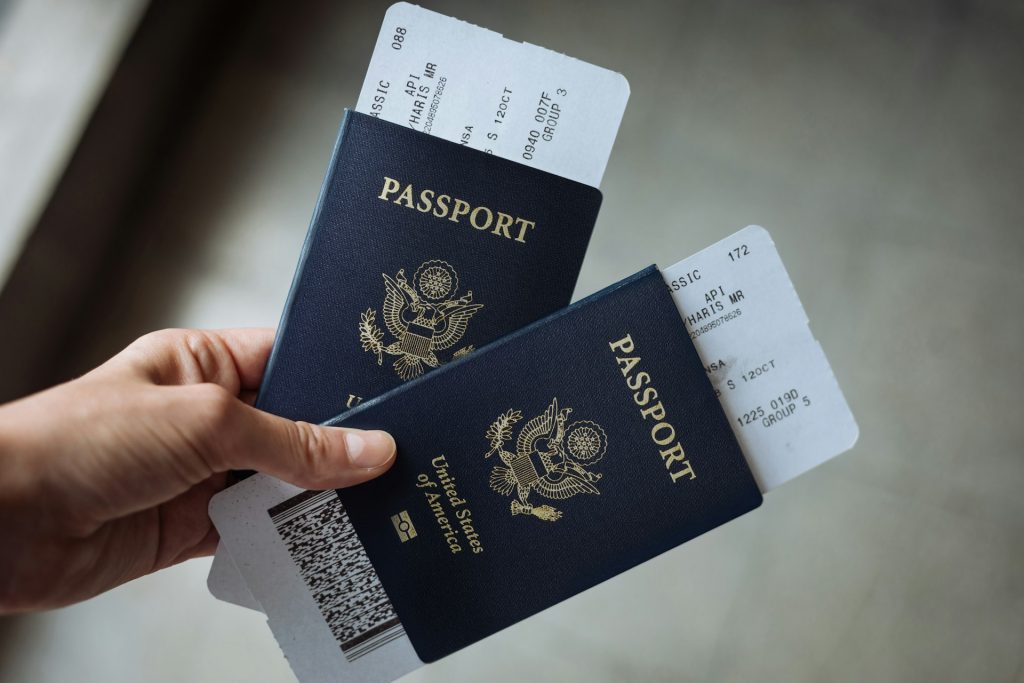
When you finish, you’ll get a confirmation page with a barcode. Print it. You’ll need it for your interview, and you can’t retrieve it later without your application ID.
Step 3: Pay the U.S visa application fee
The fee varies by visa type. For most visitor visas (B-1/B-2), it’s been around $185, though fees change periodically. Work visas can be more. Student and exchange visas have their own fee structures.
This fee is non-refundable, even if you’re denied. Even if you never show up to your interview. Even if you cancel your application. Once it’s paid, it’s gone.
Payment methods depend on which country you’re applying from. Some places let you pay online. Others require bank deposits or payments at specific locations. Check your local U.S. Embassy or Consulate website for the exact procedure. And keep your receipt—you’ll need proof of payment for your interview.
Step 4: Schedule your appointments
This is where wait times become brutally real. In some countries, you can get an interview appointment in two weeks. In others, you’re waiting six months. Lagos, Mumbai, Manila—some of these consulates are backlogged for months. Check wait times on the State Department website before you make any non-refundable travel plans.
You typically need two appointments:
Biometrics appointment for a U.S visa application (also called VAC or Visa Application Center):
This is where they take your fingerprints and photo. It’s usually quick—15 to 30 minutes unless there’s a long line.
Consular interview:
This is the big one. A consular officer reviews your application and decides whether to approve or deny your visa. This can happen the same week as biometrics or weeks later, depending on the embassy.
One critical rule change: as of September 2025, you generally must apply for your visa in your home country or country of legal residence. The days of “visa hopping”—flying to a third country with shorter wait times to get your visa—are mostly over. There are exceptions for emergencies, but they’re rare and require documentation.
Step 5: Gather your documents
At minimum, you’ll need:
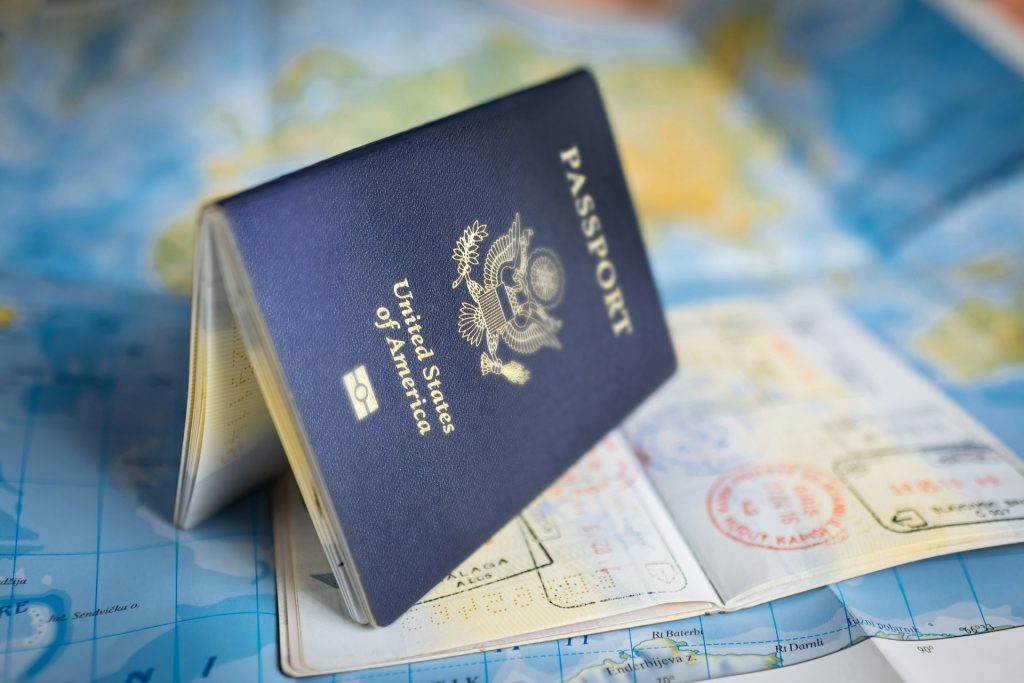
- Your passport (valid for at least six months beyond your intended stay, with at least two blank pages)
- DS-160 confirmation page with barcode
- Visa fee payment receipt
- Photo meeting U.S. visa specifications (2×2 inches, white background, recent)
- Interview appointment confirmation
But that’s just the baseline. Depending on your visa type, you’ll also want:
For tourist visas:
proof of funds (bank statements), evidence of ties to your home country (property ownership, job letter, family connections), travel itinerary, hotel reservations
For work visas:
your employer’s petition approval (I-797), employment letter, resume, proof of qualifications
For student visas:
I-20 form from your school, proof of financial support (bank statements, scholarship letters, sponsor affidavits), and evidence that you’ll return home after studies
For exchange visas:
DS-2019 form from your program sponsor, program details
The consular officer might not ask to see all of these documents. But bringing them shows you’re prepared and serious. Not having them when asked can sink your application on the spot.
Step 6: Attend your appointments
The biometrics appointment is straightforward. Show up on time, bring your confirmation and passport, get fingerprinted and photographed, and leave. Done.
The consular interview is where people stress out, and honestly, you should prepare for it. Here’s what actually happens:
You’ll wait in line, possibly for a while. When called, you’ll approach a window where a consular officer will review your documents and ask questions. The interview might last three minutes or fifteen, depending on your situation and how clear-cut your case is.
Common questions during the U.S. visa application include:
- What’s the purpose of your trip?
- How long will you stay?
- Where will you stay?
- Who’s paying for your trip?
- What do you do for work? (They want to know you have a job to return to)
- Do you have family in the U.S.?
- Have you traveled internationally before?
- Why are you going now?
For work visas, expect questions about your job, your employer, your qualifications, and why an American couldn’t do this job instead.
For student visas, they’ll ask about your school, your program, your funding, and your plans after graduation. The key thing they’re assessing: will you overstay your visa? They want to be convinced you’ll come home.
Here’s what sinks people in interviews:
- Vague or inconsistent answers. If your DS-160 says one thing and you say another, that’s a problem.
- No clear ties to your home country. If you’re unemployed, single, have no property, and all your family is in the U.S., they’ll worry you’ll overstay.
- Insufficient funds. If you can’t prove you can afford your trip, that’s a red flag.
- Suspicious travel patterns. Multiple short trips to the U.S., long gaps in employment, or applying for a tourist visa when you clearly intend to work.
- Nervous, evasive, or overly rehearsed answers. Be honest and natural.
Step 7: Wait for the decision
If approved, the officer will keep your passport for visa stamping. You’ll get it back in a few days to a few weeks, depending on the embassy’s process. Some use courier services. Some require you to pick it up.
If denied, you’ll receive a letter explaining why—usually citing a specific section of U.S. immigration law. The most common is Section 214(b), which basically means they weren’t convinced you’d leave the U.S. after your visit. Denials are frustrating because you don’t get your fee back, and reapplying means paying again and going through the whole process again.
Some applications go into “administrative processing,” which is government-speak for “we need more time to review your case.” This can mean additional background checks, verification of your documents, or security clearances. Administrative processing can last weeks or months. There’s not much you can do except wait and check the status online periodically.
Step 8: Enter the U.S.
With your visa in hand, you can book your flight. But remember: the visa lets you travel to a U.S. port of entry and request admission. The CBP officer at the airport or border makes the final call.
They’ll ask similar questions to your visa interview: purpose of visit, where you’re staying, how long you’ll be there. Answer honestly and have your documents ready. Most people sail through in a few minutes, but CBP has wide authority to deny entry, search your belongings, or pull you aside for additional questioning.
Once admitted, the officer stamps your passport with your admission date and visa status. That stamp—and the I-94 arrival/departure record (now mostly electronic)—determines how long you can stay. Don’t overstay. Even a single day over can create problems for future visa applications.
Read Also: Working Holiday Visa in Canada: Your Complete Guide (IEC)
Common Mistakes That Lead to Visa Denials
 Lying or hiding information during a U.S. visa Application
This is the fastest way to get denied and possibly banned. If the form asks about previous visa denials, criminal history, deportations, or other issues, answer truthfully. They can check. Lying is worse than whatever you’re trying to hide.
Weak ties to your home country during your U.S visa application
Consular officers are trained to spot people who might overstay. If you’re young, unemployed, single, and applying for a tourist visa but have relatives in the U.S., they’ll be skeptical. You need to demonstrate compelling reasons to return home: a job, property, family, business, or ongoing education.
Insufficient financial proof
Saying “my friend will pay” or “I’ll figure it out” doesn’t work. They want bank statements, pay stubs, tax returns—proof you can afford your trip. If someone else is sponsoring you, they need to provide an affidavit of support with their financial documents.
Inconsistent information
Your DS-160, interview answers, and supporting documents need to tell the same story. If you said you’re employed on the form but can’t provide an employment letter, or you claim you’re visiting for two weeks but your return ticket is three months later, those inconsistencies raise red flags.
Applying for the wrong visa type
This happens more than you’d think. Someone applies for a tourist visa when they actually need a work visa. Or they apply for a work visa when they’re not truly working. If the consular officer suspects you’re trying to enter on the wrong visa type, denial is almost guaranteed.
Not preparing for the interview
Walking in with no documents, vague answers about your plans, or no clear explanation of your purpose looks bad. The interview is short, but it matters. Practice your answers. Organize your documents. Be ready to explain your situation clearly and confidently.
Read Also: How to Prepare For Job Interview When Changing Careers in US
U.S Visa Application: What to Do If You’re Denied
First, don’t panic. Visa denials happen. Sometimes for legitimate concerns, sometimes because you didn’t present your case well, sometimes for reasons that seem arbitrary.
Read the denial letter carefully. It will cite the legal reason. Section 214(b) (failure to establish non-immigrant intent) is the most common. Other sections relate to criminal history, previous immigration violations, or security concerns.
Figure out what went wrong. Did you not prove strong ties to your home country? Did you fail to show sufficient funds? Was your purpose unclear? Address those specific issues before reapplying.
Decide whether to reapply. If your circumstances haven’t changed, reapplying immediately will likely result in another denial. But if you can provide new evidence—a better job, stronger financial proof, clearer travel plans—reapplication might succeed.
Consider getting help. An immigration attorney can review your case, identify weaknesses, and help you prepare a stronger application. This is especially important if you were denied for reasons beyond a simple lack of documentation.
Be patient. Some denials are situation-dependent. If you’re a recent graduate with no job and minimal savings, wait until you’re more established. If you’re applying during a busy season at the embassy, timing might help.
And remember: a visa denial doesn’t mean you can never visit the U.S. It means you didn’t meet the requirements this time. Strengthen your case and try again.
Read Also: Workers’ Compensation Attorneys in the USA
U.S Visa Application: Real Timeline Expectations
Here’s what the process actually looks like, time-wise:
DS-160 completion: 1-2 hours, maybe more if you have a complicated travel history
Fee payment and scheduling: Can be immediate if appointments are available, or you might wait weeks or months for an interview slot
Biometrics appointment: 15-30 minutes on-site
Consular interview: 5-15 minutes of actual interview time, but expect to spend 1-3 hours at the embassy, including security checks and waiting
Visa processing after approval: 3-10 business days in most cases, occasionally longer
Administrative processing (if flagged): Can be weeks to several months with no clear timeline
Total time from starting your DS-160 to having a visa in hand: In an ideal situation with short wait times, maybe 2-3 weeks. In countries with backlogs, 3-6 months or more.
Start early. Don’t book non-refundable flights until you have your visa. Don’t assume you’ll get approved just because you applied.
Read Also: Remote Jobs Hiring Foreigners in the USA
Final Advice
The U.S visa application process is bureaucratic, sometimes arbitrary-feeling, and more expensive than it should be. But millions of people successfully navigate it every year.
Be thorough with your paperwork. Be honest in your interview. Prove you have strong reasons to return home. Show you can afford your trip. And give yourself plenty of time—don’t try to rush this process at the last minute.
If you get denied, it’s disappointing but not the end of the world. Figure out what went wrong, strengthen your case, and try again when your circumstances improve.
And if you’re approved? Congratulations. Welcome to the U.S. Now just don’t overstay your visa—because that will make getting another one nearly impossible.